
Organization quickstart
Day-one path through your new Organization on Netgraph Connectivity Platform: orient, set Organization Settings, invite a colleague, optionally federate sign-in, add your first Service Context, and stream changes to your downstream systems.
This quickstart walks the first hour as an Organization administrator on Netgraph Connectivity Platform: sign in, take the tour, lock down a few sensible defaults, give a colleague access, decide whether to federate sign-in with your IdP, add your first Service Context (with a hand-off to that Service’s own setup), and optionally turn on the live audit stream.
Expect 30–45 minutes for the linear path, longer if you stop to configure SAML against your IdP.
Before you begin
Section titled “Before you begin”You have administrator access to your Organization and the Admin Portal is open at the Services page (the page heading is Service Contexts). If you don’t yet, ask your Netgraph contact for an invitation; the first invitation lands as an Organization Owner so you can do everything below.
1. Orient yourself in the left navigation
Section titled “1. Orient yourself in the left navigation”The left navigation groups Organization-scope features under three headers:
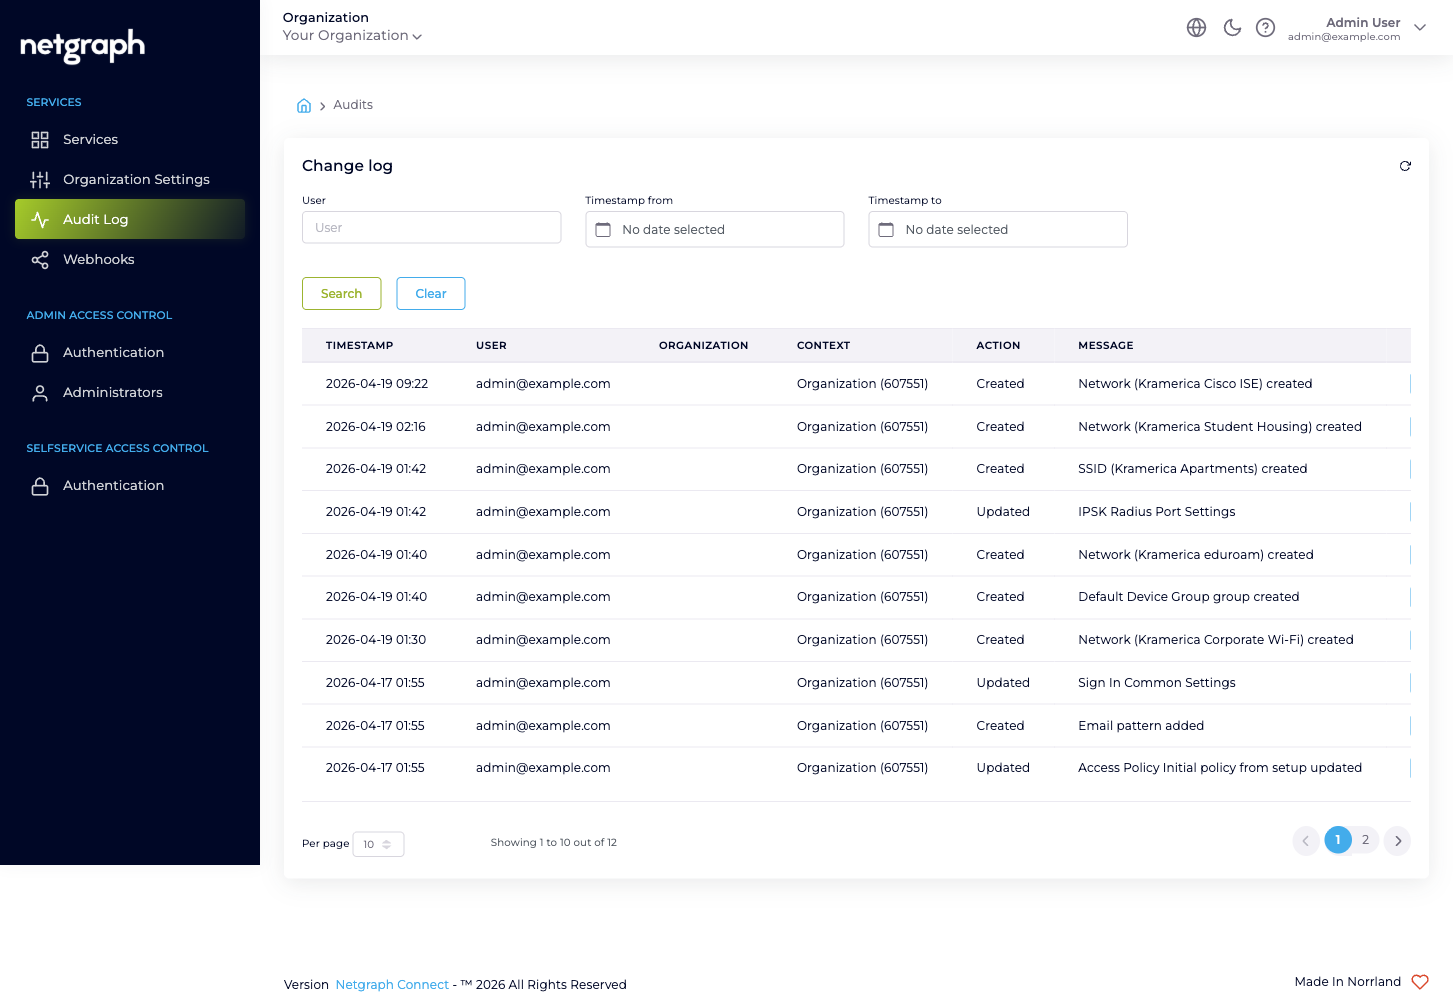
- Services — the Service Contexts inside your Organization, plus three pages that apply to the whole Organization: Organization Settings, Audit Log, Webhooks.
- Admin Access Control — Authentication (Form Login + SAML 2.0 for the Admin Portal) and Administrators (the people who can sign in to the Admin Portal at all).
- Selfservice Access Control — Authentication for the Self-Service Portal that end users (residents, hosts, group administrators) sign in to.
The two concept pages worth opening before you go further are Organization and Services (the two-layer model) and Admin Portal vs Self-Service Portal (the two sign-in surfaces).
2. Confirm Organization Settings
Section titled “2. Confirm Organization Settings”-
Open Organization Settings
Click Organization Settings in the left navigation.
-
Check the Organization name and website
Edit them through the pencil affordance on the Organization card. The name surfaces throughout the Admin Portal and the Self-Service Portal landing surfaces.
-
Pick your Active Languages
Open the Language Settings card and tick every language your team will use for translatable content. Set the Default Language as the fallback. Existing Service Contexts keep their own language configurations; this default applies to new ones.
-
(Optional) tighten Admin Dashboard Access
The Admin Dashboard Access card carries one entry by default —
0.0.0.0/0, allowing sign-in from any network. To restrict admin sign-in to specific corporate or VPN ranges, add the ranges with Add Access List Entry, confirm your current network is covered by at least one new entry, then remove0.0.0.0/0.
Warning
Tightening Admin Dashboard Access before you’ve confirmed
you can still sign in from your current network can lock you
out. Test from each network you’ll rely on before removing
0.0.0.0/0.
The full reference, including the Organization Slugs card and the Self-Service Portal Settings card, is in Organization Settings.
3. Invite your first colleague
Section titled “3. Invite your first colleague”-
Open Administrators
Click Admin Access Control → Administrators.
-
Click Add User
Enter the colleague’s email and tick the role they should hold:
- Organization Owner for someone who is your peer at the Organization level (they can change everything, including adding more administrators).
- Organization Context Manager for someone who’ll run Service Contexts but shouldn’t change Organization Settings or other admins.
- Organization Member for read-only or scope-limited access (combine with Self-Service permissions inside specific Service Contexts).
-
Save
The platform sends an invitation email immediately. The new row appears in the table with a Pending Invite badge and an Invite expires: timestamp.
Tip
Always end up with two Organization Owners. The second is your break-glass — see Admin Portal authentication → Break-glass access.
The full lifecycle (resend invitation, modify roles, remove administrator) is documented in Managing Administrators.
4. (Optional) Federate sign-in with your IdP
Section titled “4. (Optional) Federate sign-in with your IdP”If your team already signs in to enterprise applications through a corporate IdP (Microsoft Entra ID, Okta, Google Workspace, ADFS, PingFederate), federating the Admin Portal saves you from provisioning passwords and integrates Admin Portal sign-in into your existing user lifecycle.
Two SAML configurations live at the Organization scope, one per portal-target. Most Organizations set up the Admin Portal first and add the Self-Service Portal once Service Contexts are in production:
- Admin Portal authentication — for the administrators who run the platform.
- Self-Service Portal authentication — for the end users (residents, hosts, group administrators) the Service Contexts delegate to.
Each configuration has its own Service Provider Entity ID, its own Reply URL, and its own enable toggle. You can stage the configuration without enabling it.
5. Add your first Service Context
Section titled “5. Add your first Service Context”-
Open Services
Click Services in the left navigation.
-
Click Add Service Context
Pick the Service you want to set up. The platform hands you off to that Service’s setup wizard:
- Sign In quickstart — cloud guest Wi-Fi with self-service captive portals.
- EntryPoint quickstart — RADIUS-as-a-Service for 802.1X, MAB, or iPSK.
- EasyPSK quickstart — Personal Wi-Fi networks on Cisco Meraki.
- Endpoint Manager quickstart — delegated administration on top of Cisco ISE.
-
Return to the Organization scope when you're done
The new Context appears in your Service Contexts list. The Organization-level navigation is reachable from the Organization picker at the top of the left navigation.
You can run as many Service Contexts of each Service as you need. The Organization-level rules and settings — administrators, audit, webhooks, authentication — apply equally to all of them.
6. (Optional) Turn on the audit stream
Section titled “6. (Optional) Turn on the audit stream”If you have a SIEM, a change-review workflow, or an on-call notifier you want to feed Organization-configuration changes into, configure a webhook now while the volume is low.
-
Open Webhooks
Click Webhooks in the left navigation.
-
Click Create Webhook
Pick Instant Event Delivery (recommended) unless you have a specific reason to batch. Give it a name (3–125 alphanumeric characters).
-
Configure the endpoint
On the next screen, paste your Payload URL, add any custom Headers your endpoint needs for authentication, tick the Configuration Change event under Webhook Events, and tick Webhook Active under the Active card.
-
Test by changing something
Open Organization Settings, save a benign change (e.g. tweak Active Languages), then come back to Recent Deliveries on the webhook detail. The change should appear within seconds with a successful response.
The full configuration story — Event vs Batch, retry behaviour, delivery history, payload shape, the relationship to per-Service webhooks — is documented in Webhooks.
What you have now
Section titled “What you have now”After these six steps:
- Organization Settings are sized to your team.
- A second administrator can sign in.
- (Optionally) administrators authenticate through your IdP.
- One Service Context is live, with the Service’s own quickstart taking over from here.
- (Optionally) every Organization-configuration change is being pushed to your downstream system in real time.