
EntryPoint quickstart
Create your first EntryPoint Context, enable 802.1X-PEAP, and authenticate a test device.
This quickstart takes an Organization from no EntryPoint Context to a working PEAP authentication against one SSID. Expect 20–30 minutes, most of it coordinating with whoever owns your network equipment.
Before you begin
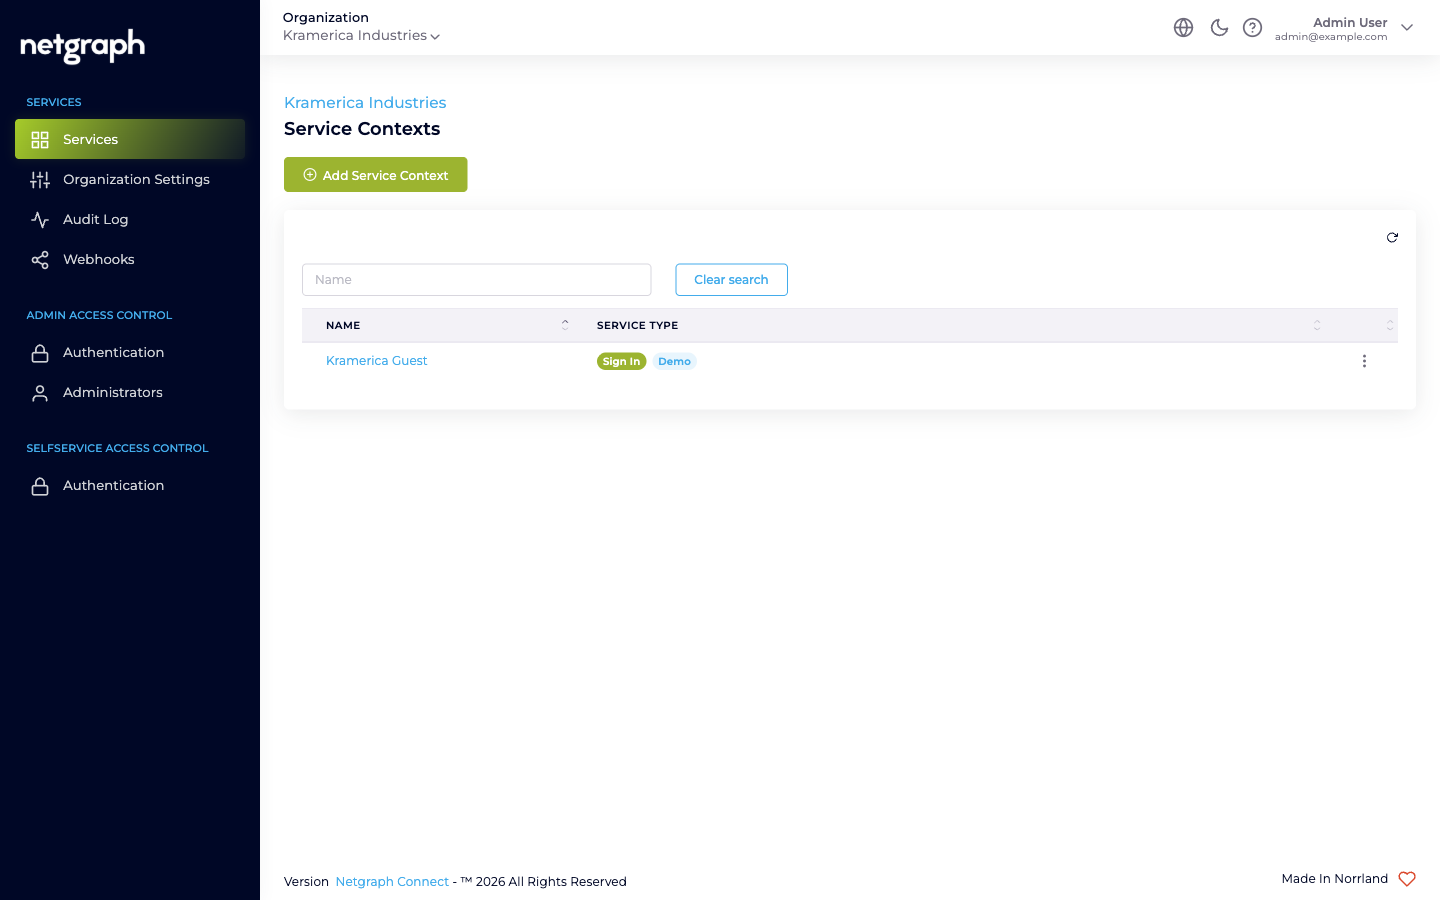
Section titled “Before you begin”You have administrator access to the Organization and the Admin Dashboard is open at the Services overview.
You’ll also need:
- One SSID (on a WLAN controller or Meraki network) that you can point at a new RADIUS server for testing.
- A client device (laptop or phone) for which you control the 802.1X supplicant settings.
1. Create an EntryPoint Context
Section titled “1. Create an EntryPoint Context”-
Open Add Service Context
From the Services overview click Add Service Context, then pick the EntryPoint - RADIUSaaS card.
-
Pick the variant
You land on the Create RADIUSaaS Context wizard. Keep the default EntryPoint 2.0 (Dot1x PEAP, Entra) for this quickstart.
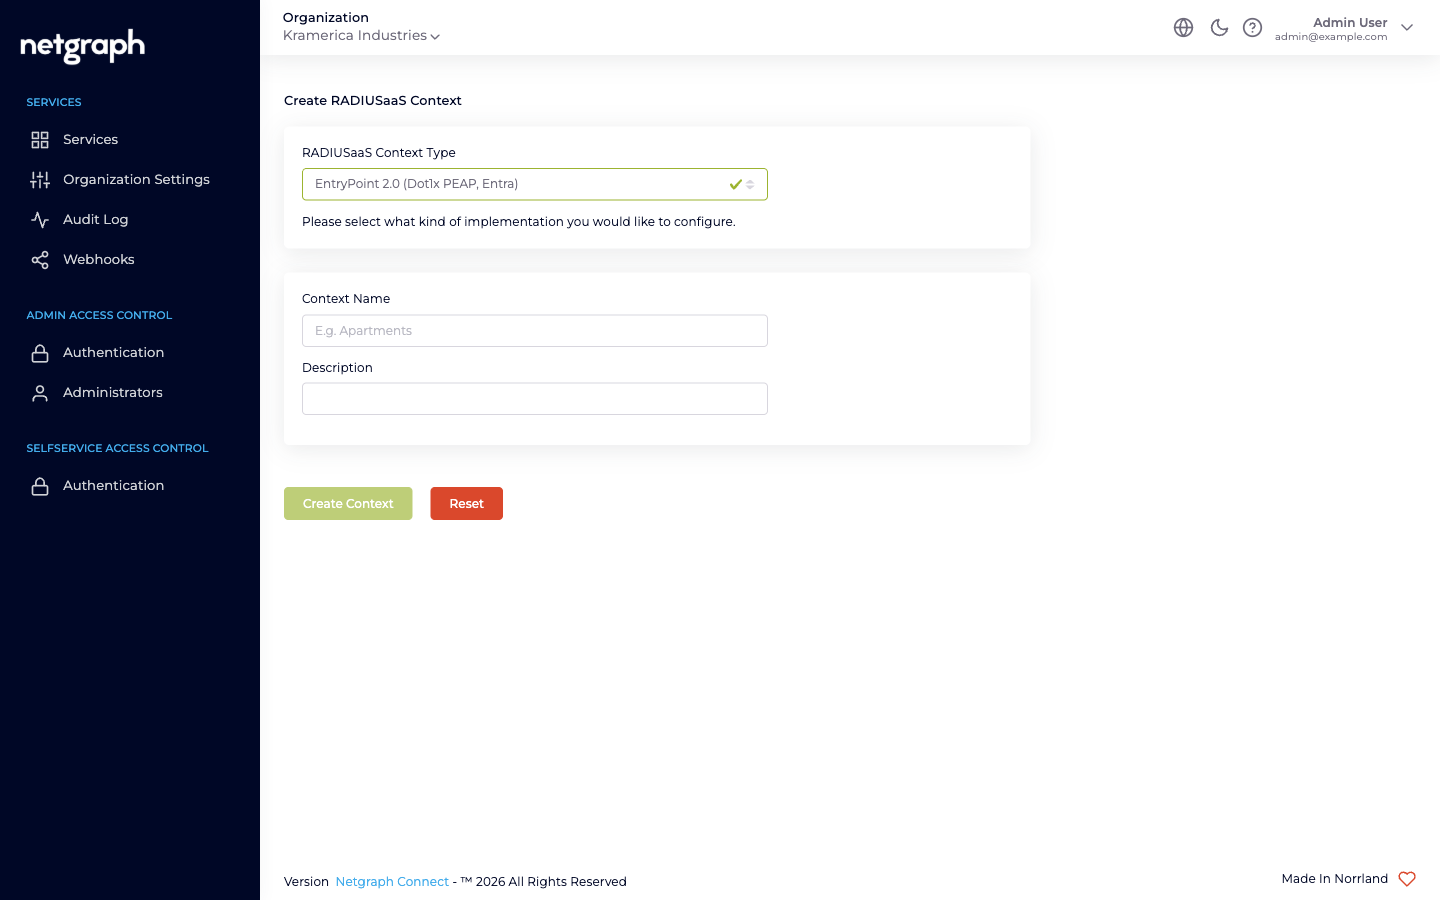
Create RADIUSaaS Context wizard with variant dropdown. -
Name and describe
Enter a Context Name (e.g. Corporate Wi-Fi) and a short description, then click Create Context.
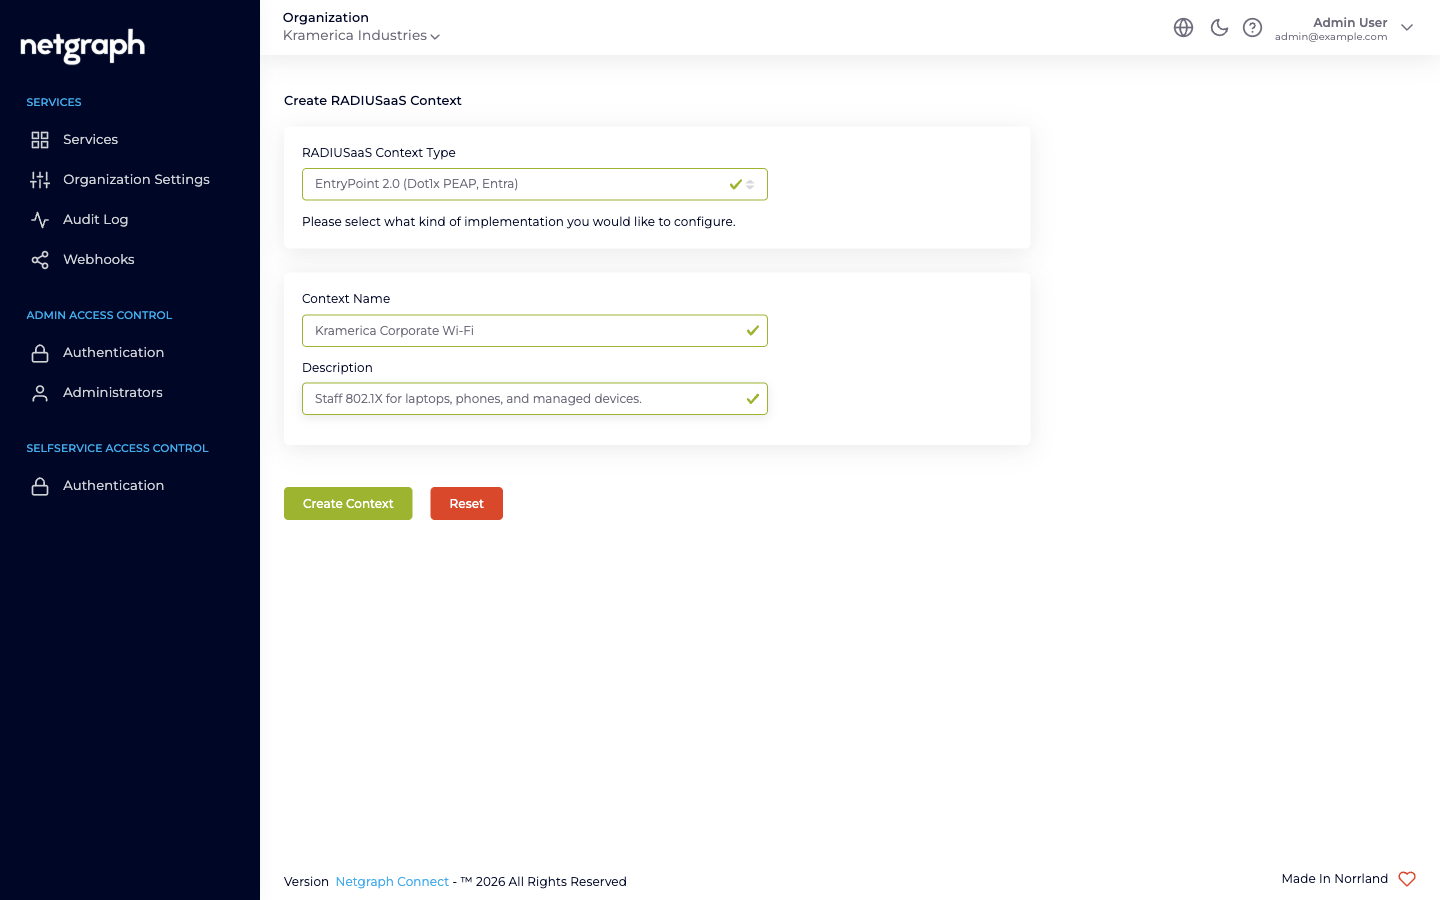
Filled-in wizard ready to submit.
The Context lands on its Configuration page. Three counter cards (Groups / Devices / Online) sit above three tabs: Basic Configuration, Attribute Profiles, Network Integration.
2. Enable an authentication method
Section titled “2. Enable an authentication method”-
Turn on EAP-PEAP
On Configuration → Basic Configuration, toggle EAP-PEAP in the Client Authentication Methods card and click Update Authentication Methods.
-
Keep the default Identity Store
Leave the Identity Store dropdown on --- No Backend Identity Store ---. EAP-PEAP doesn’t use it: EntryPoint holds the PEAP accounts itself. The setting matters only if you later add EAP-TLS User Certificate Groups. See Entra connection.
3. Attach your network equipment
Section titled “3. Attach your network equipment”Network equipment becomes a RADIUS client of this Context by pointing at the Context’s hostname and the per-Context shared secret.
-
Grab the RADIUS settings
Open Configuration → Network Integration. Note the Radius Hostname, Authentication Port, Accounting Port, RadSec Port, and RADIUS client secret.
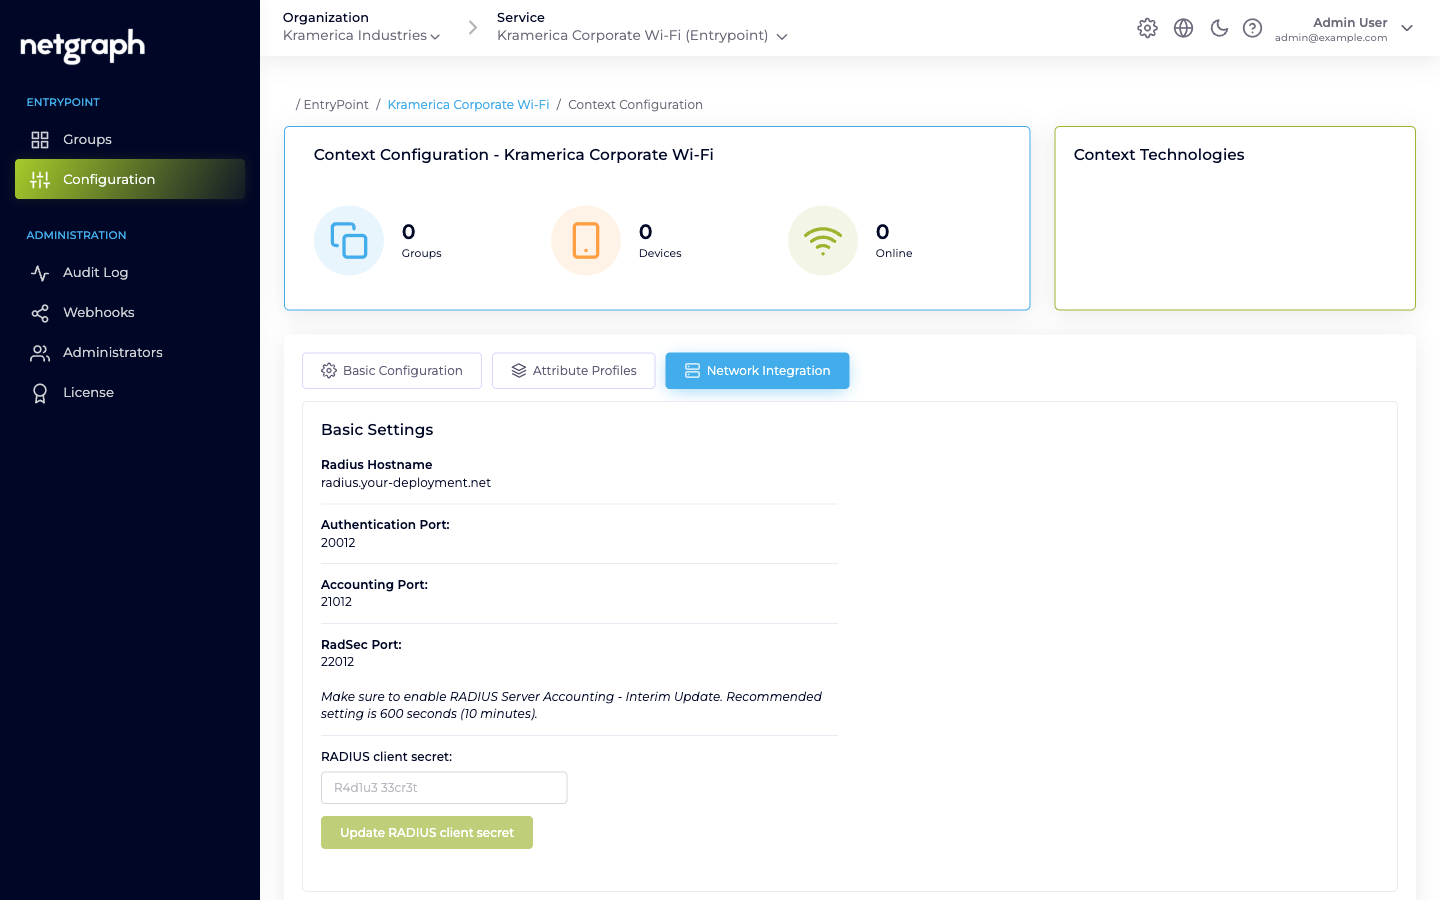
Network Integration tab — Basic Settings. -
Allow your network range
Still on Network Integration, add the public IP range(s) of your WLAN controllers / switches to Configure RADIUS Access Restrictions (CIDR format, e.g.
203.0.113.0/28). Save. -
Configure the RADIUS server on your equipment
On the WLAN controller / switch / Meraki network, add a RADIUS server with the hostname, authentication/accounting ports, and the shared secret from the previous step. Enable RADIUS accounting (interim-update ≈ 600 seconds).
See RADIUS clients for a deeper walkthrough.
4. Add a Group and a PEAP user
Section titled “4. Add a Group and a PEAP user”-
Create a Group
Go to Groups → Add Group. Pick 802.1X-PEAP from the Select Group Type dropdown, name it (e.g. Corporate Staff), and save.
-
Add a Self-Service User
Open the Group’s Users tab and invite a Self-Service User with the default role. They’ll receive an email invitation with a link to the Self-Service portal.
-
End-user signs in
The invited user signs in to the Self-Service portal. Their Personal PEAP Account (username + auto-generated password) is shown on the Group detail page, along with per-OS setup instructions for macOS, Windows, iPhone, Android, and Chromebook.
-
Connect the device
The user follows the setup instructions for their OS, then connects to the SSID. The device appears on the Group’s devices list within a few seconds of the first successful authentication.