
Self-Service portal
What residents see when they open their Wireless Personal Network in the Self-Service portal — the end-user experience that makes an EasyPSK deployment work without you.
The Self-Service portal is the residents’ side of EasyPSK. Every Self-Service User of a Wireless Personal Network gets a link to it, lands on their own unit’s detail page, and takes it from there — no further admin involvement needed for the common day-to-day actions.
Think of it as the “home router admin page” for the unit. The Group Administrator has the keys; everyone else has a read-only view of those same keys, without the management buttons. The portal is built mobile-first and follows the resident’s light or dark preference, with a manual theme toggle in the header.
Landing
Section titled “Landing”When a resident clicks the invite link they first sign into the portal. If they’re a member of more than one Context (some organisations give the same person access to a guest Sign-In Context and their apartment), they see a card picker first. Otherwise they land straight on their Wireless Personal Network detail page.
The WPN detail page
Section titled “The WPN detail page”Every Wireless Personal Network detail page shows the same set of cards, gated by permission.
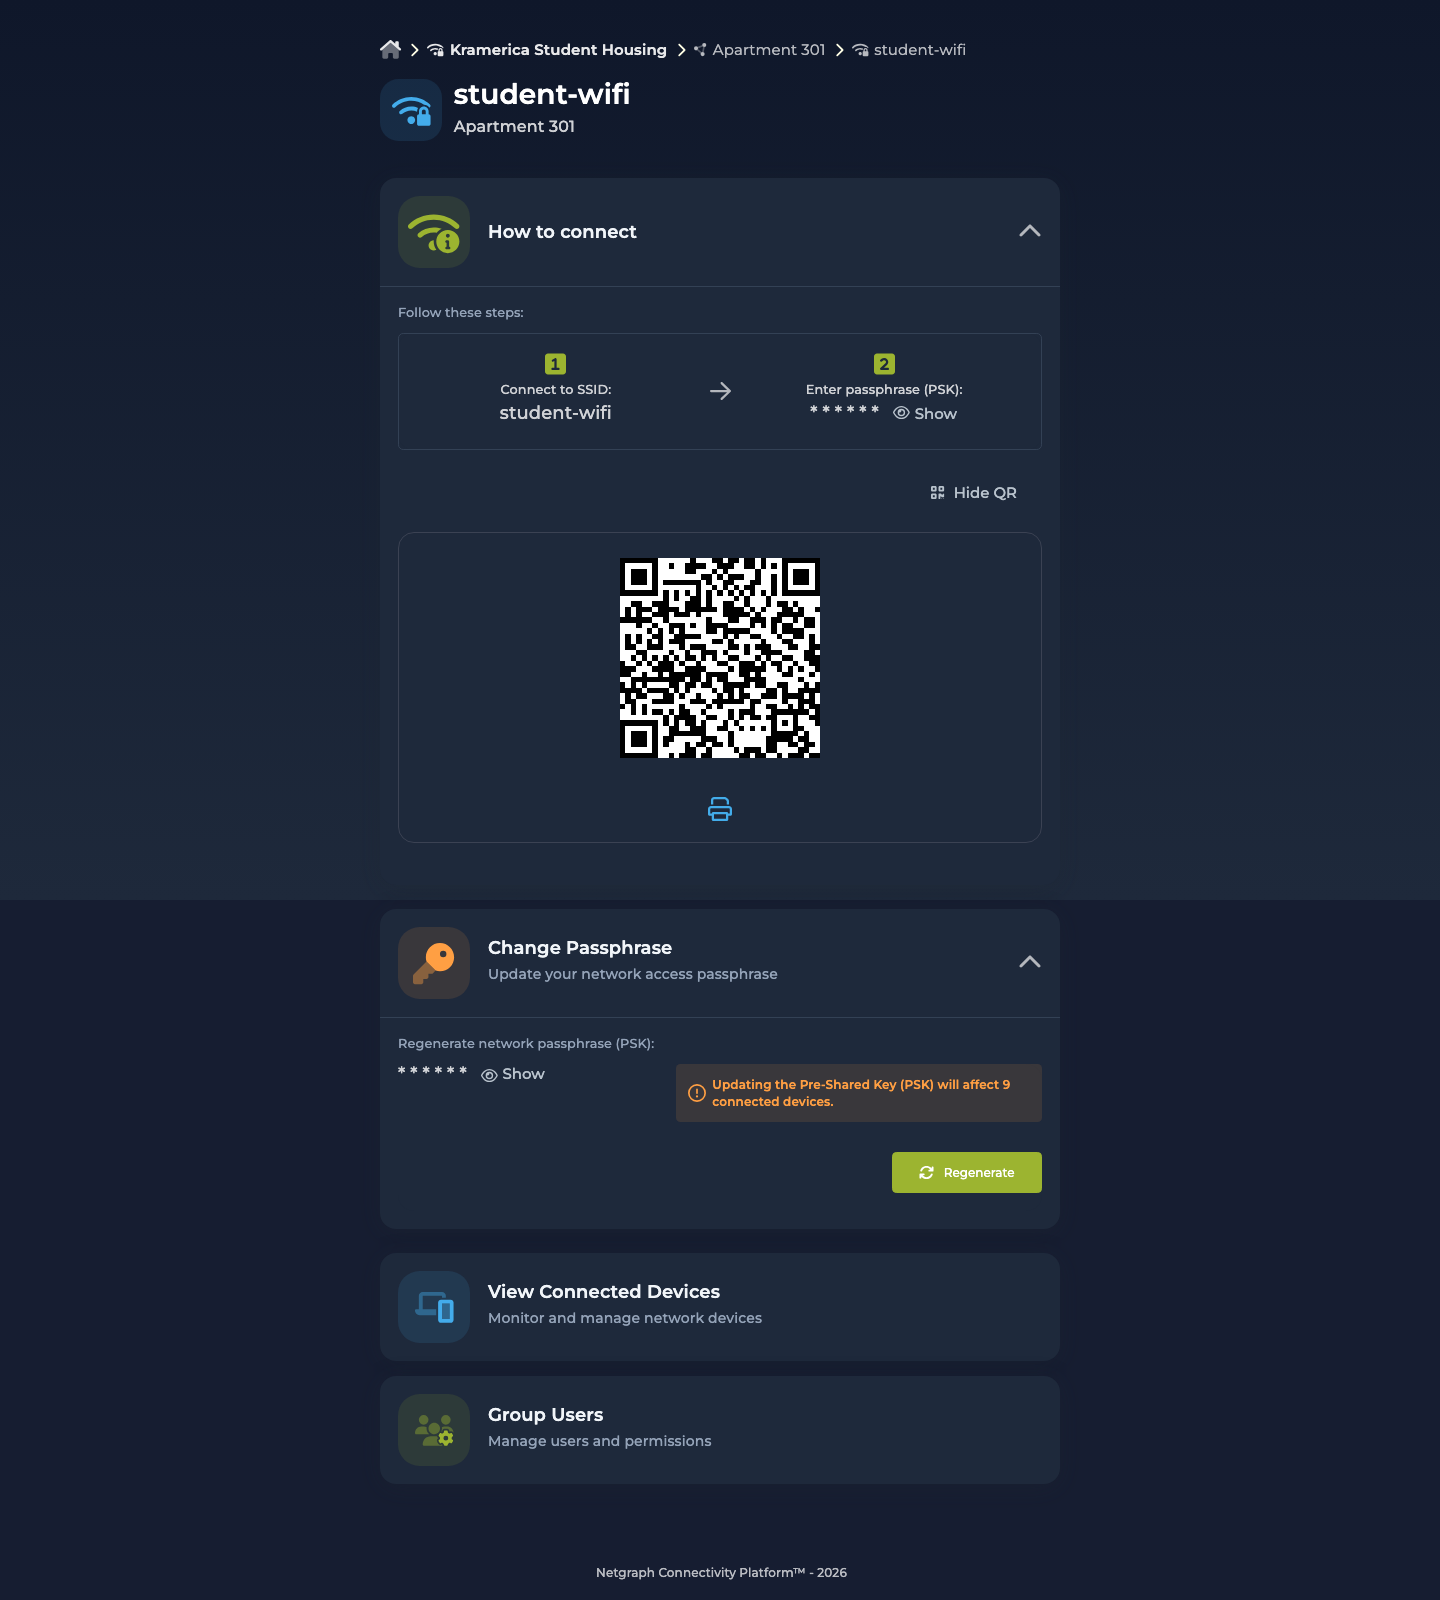
How to connect — visible to everyone
Section titled “How to connect — visible to everyone”The card every resident sees, regardless of role. It expands into:
- Step 1 — Connect to SSID: the building SSID name, displayed large.
- Step 2 — Enter passphrase (PSK): the PSK, initially masked with a Show toggle. Click to copy.
- View QR — a tap-to-generate QR code encoded as
WIFI:T:WPA;S:<ssid>;P:<psk>;;. iOS and Android camera apps recognise the format and offer to join automatically. Great for onboarding phones without typing anything.
This one card covers the 90% case: a resident just wants their phone, laptop, or console online.
Change Passphrase — Group Administrator only
Section titled “Change Passphrase — Group Administrator only”The second accordion, visible only to a member with the Group Administrator permission. It shows:
- The current Pre-Shared Key masked with a reveal toggle.
- A copy-to-clipboard shortcut.
- A Regenerate button that rolls the PSK. Before committing, a confirmation modal tells the Group Administrator how many connected devices will have to re-join with the new key.
Rotating the key in the portal updates the Meraki Identity PSK on every associated Meraki network. Devices currently joined stay connected until they try to re-associate — at which point they prompt for the new key.
View Connected Devices — visible to everyone
Section titled “View Connected Devices — visible to everyone”A link to the device list. The Group Administrator can see every device joined to the WPN’s PSK; the other roommates can too — which is the right default for “who’s on our apartment Wi-Fi right now?”.
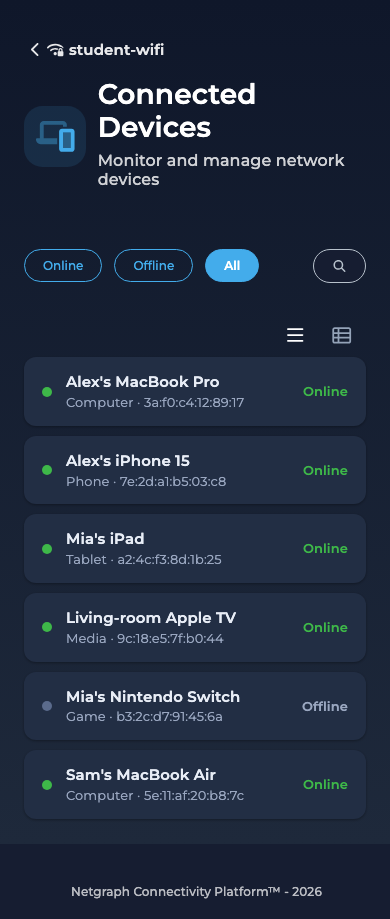
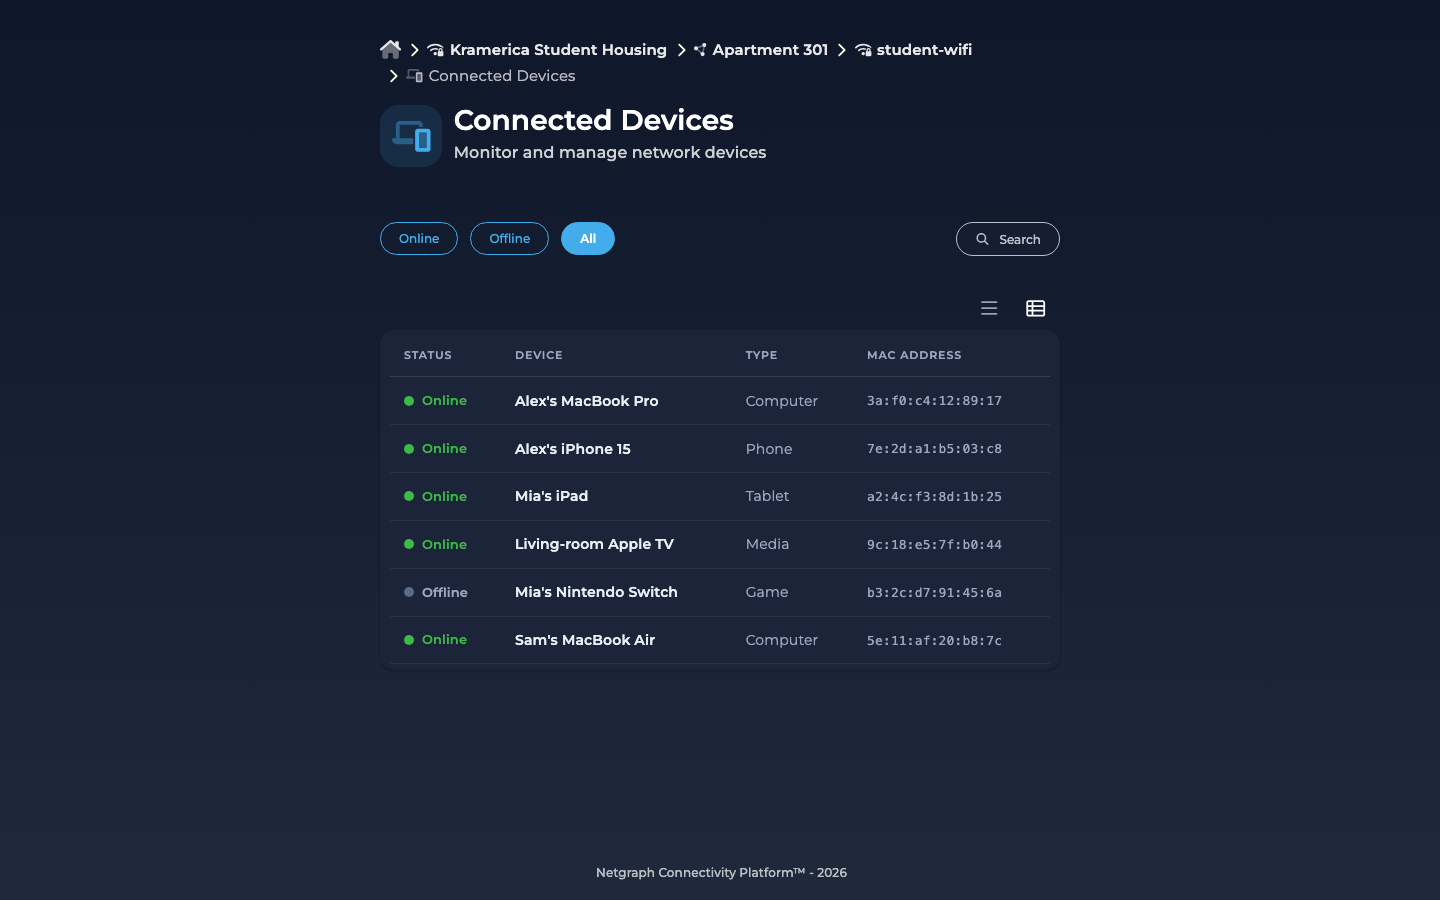
Per device: a description, its type and MAC address, and whether it is online right now. Read-only — no device-level actions. The list offers two presentations: the default card view, and a table view for scanning many devices at once, switched with the view toggle above the list.
Manage Users (Group Administrator only)
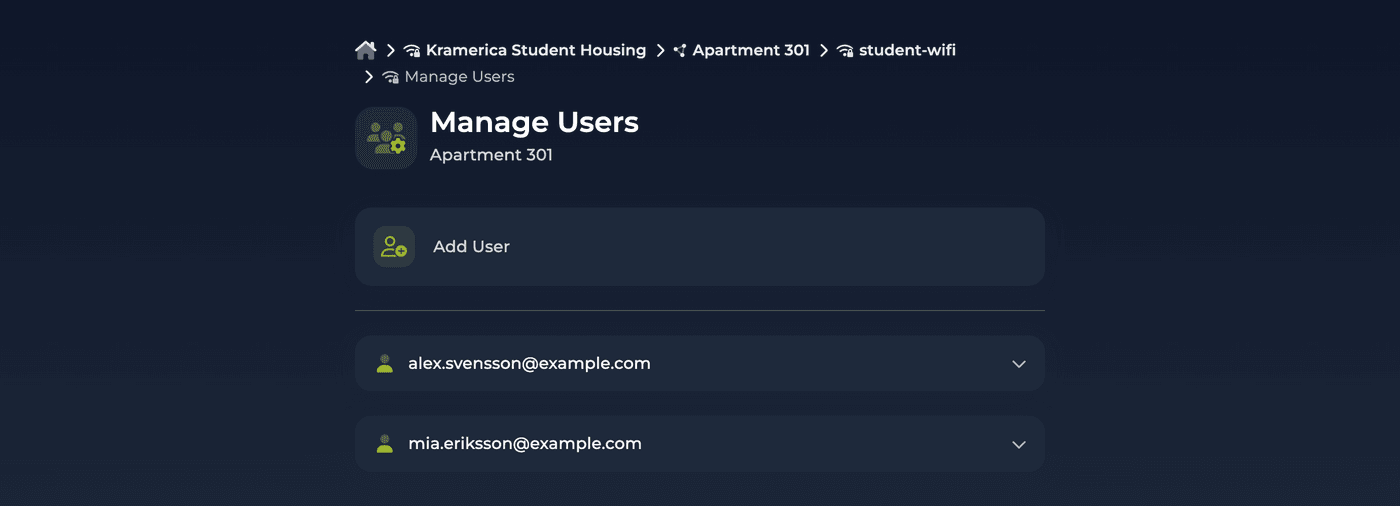
Section titled “Manage Users (Group Administrator only)”A link to the user-management page. Only visible if the signed-in resident holds Group Administrator. Shows every Self-Service User in the WPN with their roles, and offers Add User, Update User, and Revoke actions. The Add and Update forms carry the same optional Phone number field as the admin side, so a Group Administrator can record a roommate’s contact number. A resident does not edit their own phone number here; it is set for them by a Group Administrator or an organization admin.
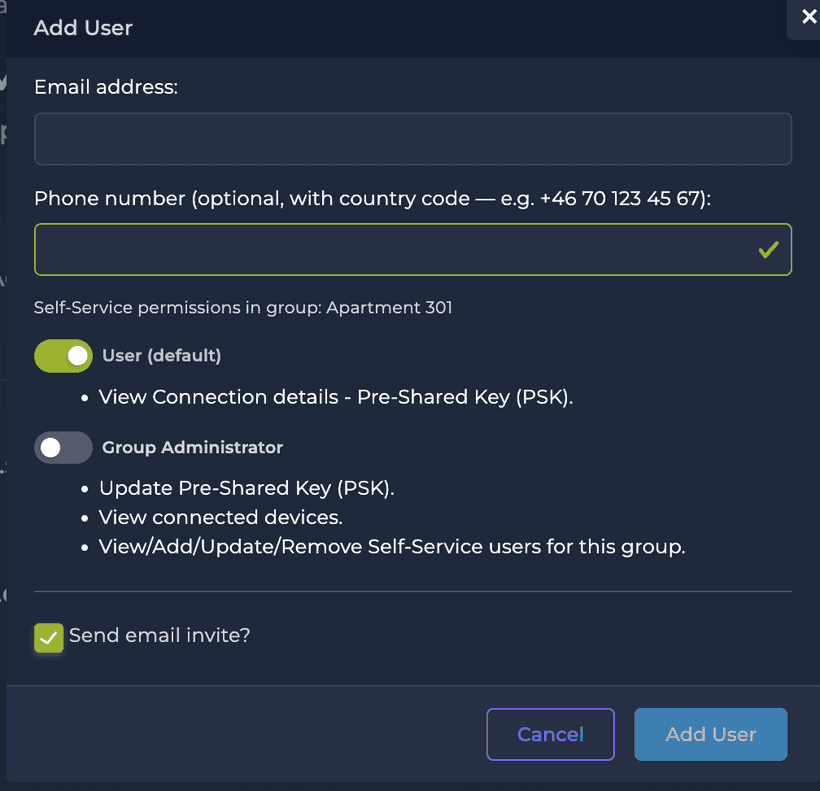
Role matrix — what each permission sees
Section titled “Role matrix — what each permission sees”| Card / action | User (default) | Group Administrator |
|---|---|---|
| How to connect | ✓ | ✓ |
| View Connected Devices | ✓ | ✓ |
| Change Passphrase card | — | ✓ |
| Regenerate PSK | — | ✓ |
| Manage Users card | — | ✓ |
| Add / Update / Revoke roommate | — | ✓ |
| Set a roommate’s phone number | — | ✓ |
No per-OS setup guide
Section titled “No per-OS setup guide”Unlike EntryPoint’s PEAP / EAP-TLS flow — which has to walk each operating system through certificate trust — EasyPSK is just a pre-shared key. There’s nothing to set up on the device beyond “enter the Wi-Fi password”, so the Self-Service portal doesn’t ship per-OS guides. The QR code handles iOS and Android onboarding; on laptops, residents copy the PSK and type it into the usual OS Wi-Fi prompt.
Kiosk self-enrollment (Online kiosk)
Section titled “Kiosk self-enrollment (Online kiosk)”In an EasyPSK via RADIUS Context, a group does not have to be pre-created by an administrator. With kiosk self-enrollment, the group is created automatically at a resident’s or guest’s first Self-Service login: they sign in, the platform creates their group with a generated key, and the How to connect card is ready on the spot. The same flow runs from an on-site kiosk screen in a lobby or venue, or from an online kiosk link you share ahead of arrival. It removes the onboarding queue entirely: every student on move-in day, or every visitor at a fair, enrolls themselves.
Identity providers behind the portal
Section titled “Identity providers behind the portal”Self-Service Users sign into the portal either via email magic-link or via the Organization’s configured identity provider. If you’ve enabled SAML 2.0 on the Self-Service Portal (Selfservice Access Control → Authentication), residents authenticate against your IdP instead of receiving token emails. See Self-Service Portal authentication.